Download this demo as pdf file.
I was asked to make a video recently. My first thought was: have you seen what I threw away in the past week?! :) Well, a video I cannot do, but I can do a step by step photo series. You know I am absolutely no expert nor a teacher, but I can share what I have learned.
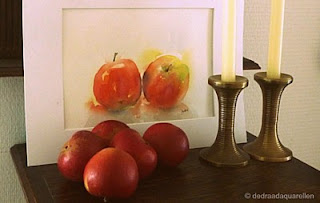
I used the same reference photo of the pears in a post, it is Challenge nr. 1 of Paint and Draw Together.
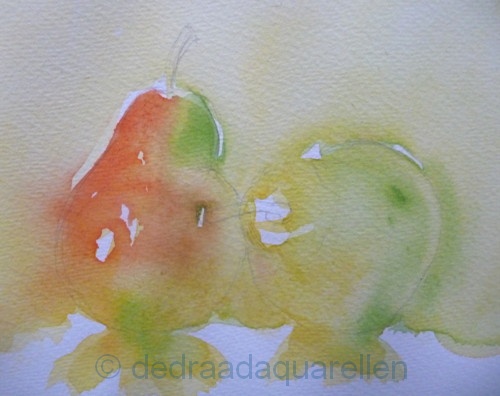
I made a quick drawing and started painting the pears and most of the background yellow, careful to leave the highlights white.

While that was still wet....

....I added sapgreen.... and vermillion red.

When the red threatened to take over the whole pear.... oops...

.... I used paper towel to remove the excess and soften the edges.
Tip: try not to go back in again with the brush, but control the paint by tilting the paper.
I also added more yellow to both pears, making use of the nice property of yellow (and also clean water) to push other colours away.
Since it was all very wet....
 ....I then waited till the whole painting dried.
When totally dry I carefully erased most of the pencil lines.
....I then waited till the whole painting dried.
When totally dry I carefully erased most of the pencil lines.


Then I added ultramarine blue, and softened edges here and there with a damp brush.
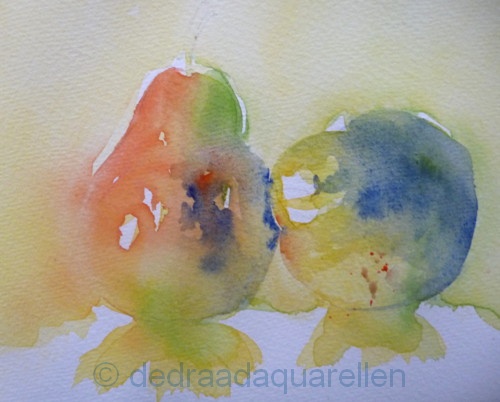
Then I added shadows and the last finishing touches....
and tadaaaaah.....
 |
| Pears for Irina and Pat |